In fast-paced shooters, shaving even a few milliseconds off your reaction time can be the difference between clutching a round and watching the killcam. While most players chase higher FPS and lower latency (and you should), lighting—both in-game and in your room—quietly shapes how fast you see, process, and act. Dialing in the right visual conditions reduces visual noise, increases target salience, and keeps your eyes fresher for longer sessions. Here’s how to make lighting work for you.
The Vision–Reaction Chain (Why Lighting Matters)
Your reaction starts with detection (spotting movement or contrast), then discrimination (friend vs. foe), then motor response (flick/track + click). Poor lighting slows step one and two. Good lighting enhances:
- Contrast sensitivity: You identify silhouettes faster when foregrounds stand out from backgrounds.
- Motion perception: Clear, stutter-free edges make target motion easier to track.
- Visual comfort: Lower eye strain maintains peak performance deeper into a session.
Room Lighting: Build a Pro-Level Viewing Environment
- Use neutral bias lighting behind the monitor. A soft 10–20% brightness glow (5000–6500K) reduces eye strain and perceived flicker without washing out blacks. LED strip behind the display works great.
- Kill glare and reflections. Position lights so you don’t see hotspots on your screen. Matte bulbs/lampshades > bare bulbs.
- Match color temperature to gaming hours. Cooler (6500K) for daytime sharpness; slightly warmer (5000–5500K) for evenings to reduce fatigue.
- Keep the room dim, not dark. Pitch-black rooms increase pupil dilation, which can make flashbangs/HDR blooms uncomfortable and slow adaptation after bright scenes.
Monitor Choices That Help You React Faster
- High refresh rate + low persistence: 144–240 Hz (or more) with fast response times reduces motion blur so targets remain crisp while strafing.
- Strobing/Motion blur reduction (if available): Strobe backlights (ULMB/ELMB/etc.) can make motion razor-sharp—use at stable frame pacing and with care (some brightness loss/flicker).
- Adaptive sync (G-SYNC/FreeSync): Minimizes stutter/tearing so your visual system gets consistent motion cues.
- Gamma and black level control: Slightly raising shadow visibility (without crushing highlights) helps pick enemies out of dark corners.

In-Game Lighting Settings That Speed Up Target Acquisition
- Gamma/Brightness: Use the calibration screen, then nudge just enough to reveal shadow detail in competitive maps—too bright lifts haze and reduces contrast.
- Color saturation: A small boost can help enemy models pop, but avoid cartoonish oversaturation that hides subtle motion.
- “Black equalizer”/Shadow boost: Great for competitive visibility; apply moderately to avoid flattening the scene.
- Motion blur: Off for competitive play. It looks cinematic but smears edges that your eyes need for fast flicks.
- Bloom/Lens flare/Film grain: Reduce or disable—these effects add visual noise and delay discrimination.
- HDR: Use only if your display has strong HDR and the game implements it well. Poor HDR tuning can clip highlights and obscure detail; good HDR can improve dynamic range and edge contrast.
Color & Contrast: Make Enemies Pop (Without Cheating Your Eyes)
- Neutral white point (6500K) on the monitor keeps colors predictable across games.
- Slightly cooler temperature can enhance perceived sharpness, but don’t drift blue enough to fatigue your eyes.
- Selective saturation: If a title lets you tint UI/enemy outlines, pick hues that contrast common map palettes (e.g., warm outline on cool-toned maps).
NVIDIA/AMD/Console Quick Wins
PC (NVIDIA Control Panel):
- Display > Adjust desktop color settings → raise digital vibrance slightly (50 → 55–60).
- Manage 3D settings → Low Latency Mode “On/Ultra”; V-Sync “Off” if you can keep FPS above refresh with G-SYNC/FreeSync.
PC (AMD Software):
- Display → Color → minor saturation lift; enable FreeSync.
- Graphics → Anti-Lag/Boost for latency; FRTC off for max responsiveness unless you need thermal control.
Consoles:
- Calibrate HDR per game/system wizard.
- Use “Game” picture mode on the TV/monitor to reduce processing.
- Turn off motion smoothing/soap-opera effects (adds latency, blurs motion cues).
Map Lighting & Skins: Readability Over Aesthetics
- Prefer readable skins and crosshairs with strong contrast against common backdrops.
- On new maps, spend 5–10 minutes in a private match to tune brightness/gamma until shadow detail is visible without milky blacks.
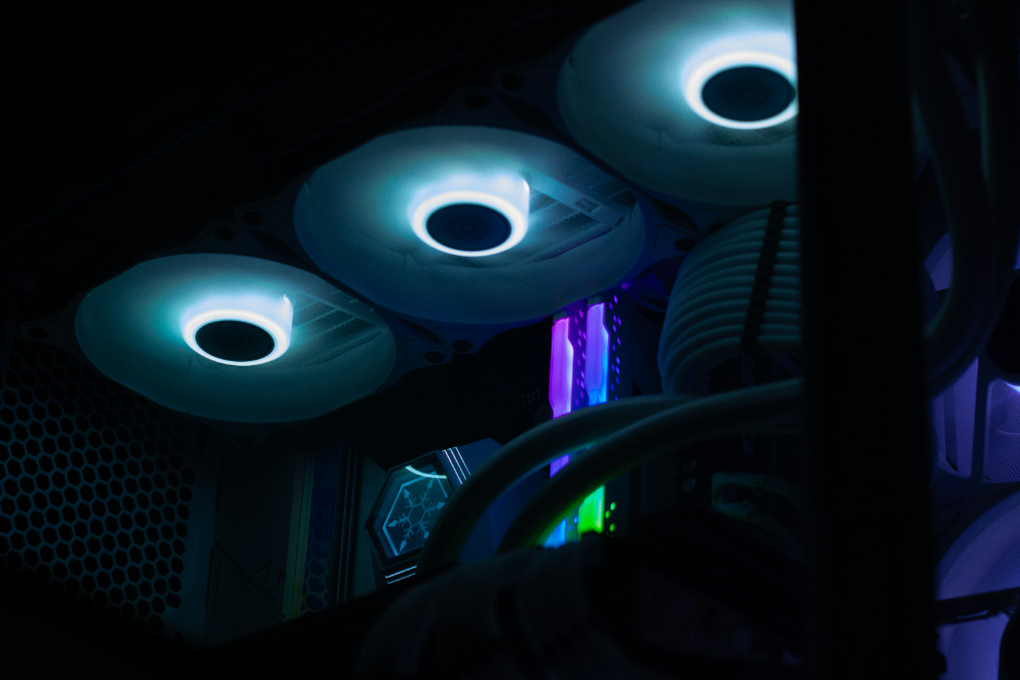
- Avoid reactive RGB lighting that pulses with in-game audio—cool show, bad for focus.

Reduce Eye Fatigue to Preserve Reaction Time
- 20-20-20 rule: Every 20 minutes, 20 seconds, look 20 feet away—helps reset accommodation.
- Blink breaks & hydration: Dry eyes slow saccades and increase discomfort.
- Consistent posture and viewing distance (50–70 cm): Keeps visual focus stable, aiding micro-adjustments while tracking.
- Blue-light filters at night: If you play late, gentle warm shift + dim room lighting eases post-session wind-down without mangling color too much.
A Simple Competitive Lighting Setup (Checklist)
- High-refresh, low-latency monitor in Game mode
- Bias light behind display (neutral white, dim)
- No glare; light sources out of the screen’s reflection path
- In-game: motion blur off, film grain low/off, bloom minimal, tuned gamma
- Slight shadow lift/black equalizer for corner visibility
- Subtle vibrance bump; neutral white point
- Adaptive sync on; frame pacing stable
Practice With Visual Cues
- Run aim trainers with consistent lighting and a clean HUD; lighting stability improves learning transfer to live matches.
- Train crosshair placement with high-contrast bot skins or targets to reinforce rapid edge detection.
- Use short, high-intensity sets (10–15 min); visual systems adapt best in focused bursts without fatigue.
Common Mistakes (That Cost You Milliseconds)
- Cranking brightness to the moon: lowers contrast, adds haze.
- Playing in a pitch-black cave: big flashes become uncomfortable; adaptation lags.
- Leaving motion blur/grain on: pretty, but slower edges.
- Over-saturating: hides subtle movement in noisy color blobs.
- Ignoring reflections: one lamp hotspot = constant micro-distraction.
FAQs
Does higher refresh always mean better reaction time?
Up to a point. Going from 60→144 Hz is a big win; 144→240 Hz is noticeable for many. Beyond that is diminishing returns, but smoother motion still helps tracking.
Should I use HDR for competitive shooters?
Only if your display/game combo7 handles HDR well and you calibrate it correctly. If highlights clip or shadows crush, stick to SDR for consistency.
Is strobing worth it?
If your monitor supports quality blur-reduction strobing and you can maintain steady FPS, yes—it sharpens motion. If flicker or brightness loss bothers you, skip it.
What’s the best color temperature?
Aim for ~6500K (D65) as a baseline for accurate colors. Slightly cooler can feel crisper, but extreme blue can be fatiguing.
Do RGB lights help aim?
Reactive, pulsing lights distract. If you like RGB, set a static, dim bias glow behind the monitor.
How do I tune gamma?
Use the game’s calibration chart so the faintest logo/box is barely visible. Then test on a dark map corner and bright sky to confirm details at both ends.
Will increasing digital vibrance get me banned?
Driver-level vibrance is a standard display adjustment and not a cheat. Just don’t use external overlays that violate game rules.
Want More Blogs Like These?
Explore Game On on Designs24hr for more competitive optimization guides, from input latency tuning to crosshair science and audio positioning.
