AI Mockups Without Changing Artwork: A Seller’s Guide
Creating AI mockups without changing artwork starts with one important decision: keep your original design separate from the AI-generated scene.
Instead of asking an AI image generator to recreate your entire product, you can prepare your original SVG, PNG, printable, or illustration, create a suitable background, and place the exact design into that scene using controlled image editing.
This guide explains how to preserve your source artwork, build realistic product previews, use AI mockup prompts effectively, and avoid showing buyers a product that differs from the actual file or item being sold.
To create an AI mockup without changing your artwork: save the original design, create or obtain a suitable scene without the design in it, place your exact artwork into the scene using an editable layer or mockup template, adjust its presentation, and compare the finished preview against the original file.
If the mockup still misrepresents an important design detail, use a direct file preview or a verified product photograph instead.
Can You Create AI Mockups Without Changing Artwork?
Yes, but the method matters.
AI image generators can help create attractive backgrounds, room settings, lighting concepts, display surfaces, and product scenes. However, generating a new image based on a reference is different from preserving the original artwork as an unchanged source file.
A generated image may appear similar to your original design while changing small features such as lettering, spacing, border thickness, internal connections, or the number of decorative elements.
Those differences matter when the design itself is the product.
Generating the Entire Product
You upload an original design and ask AI to generate a realistic finished product based on that reference.
Main limitation: The generated product may contain a reconstructed version of your artwork. Similar appearance is not proof of identical geometry.
Using an Exact Artwork Overlay
You create or obtain a suitable scene and place the existing artwork into it as a separate, editable element.
Main advantage: You retain control of the source design instead of depending on an image generator to reproduce every detail.
Preserving a source file does not automatically guarantee a perfectly accurate finished mockup. Perspective, cropping, lighting, surface effects, and the surrounding scene can still change how buyers perceive the design.
Always review the final composite, not just the original file.
What does preserving your artwork actually mean?
Artwork preservation means retaining the important features of your approved design throughout the mockup process.
- Geometry: The original shapes, curves, angles, and cut boundaries remain consistent.
- Proportions: The design is not unintentionally stretched, compressed, or reshaped.
- Text: Letters, numbers, punctuation, and line breaks match the original artwork.
- Composition: The number, placement, and arrangement of design elements remain unchanged.
- Product representation: The mockup does not invent materials, dimensions, components, or finished-product characteristics that the seller cannot verify.
The safest starting point is always your original, approved design file—not an AI-generated image that merely resembles it.
How to Create AI Mockups Without Changing Artwork: The 5-Step Workflow
This workflow separates the design from the scene, giving you greater control over what is generated and what must remain accurate.
Prepare and Protect Your Original Artwork
Before creating a mockup, identify the exact artwork that represents the product you intend to sell.
Work from the approved final file rather than an older draft, a compressed screenshot, or an AI-generated approximation.
Prepare these files:
- An untouched copy of your original artwork.
- A suitable working copy for placement inside the mockup.
- The actual files that buyers will receive, when you are creating a digital-product listing.
- Verified dimensions, material information, and product specifications whenever the mockup represents a physical item.
Choose the correct working file
For vector designs, preserve the original SVG or another approved vector master. A transparent PNG can be useful for placing the same design into a photographic scene.
For printable artwork, preserve the original print-ready file and prepare a separate display version at an appropriate resolution.
If you are unsure which format belongs in your workflow, use the Designs24hr File Format Chooser to understand the differences between SVG, PNG, JPG, and PDF.
You have an untouched source file and a separate working copy that can be used for the mockup without changing the product being sold.
Create a Suitable Product Scene
Your next task is to prepare the environment in which the artwork will appear.
Depending on the product, this might be a blank wall, an empty picture frame, a plain product surface, a neutral display board, or a suitable packaging scene.
You can create an original scene using an AI image generator, photograph a suitable setup yourself, or use a properly licensed mockup template.
A useful scene should have:
- A clear area where the artwork can be placed.
- Suitable perspective and sufficient resolution for the intended placement.
- Consistent lighting and realistic contact surfaces.
- No unnecessary objects covering the primary product.
- No unauthorized logos, protected artwork, or identifiable third-party branding.
For example, when preparing a printable wall-art mockup, create a scene containing an empty frame rather than asking AI to invent the artwork inside that frame.
This leaves you with a defined surface where the actual design can be inserted.
A front-facing product surface is usually easier to work with than a dramatically angled one. Complex curves, folds, reflections, and perspective make exact artwork placement more difficult.
Place Your Exact Design Into the Mockup
This is the most important step in the artwork-preservation process.
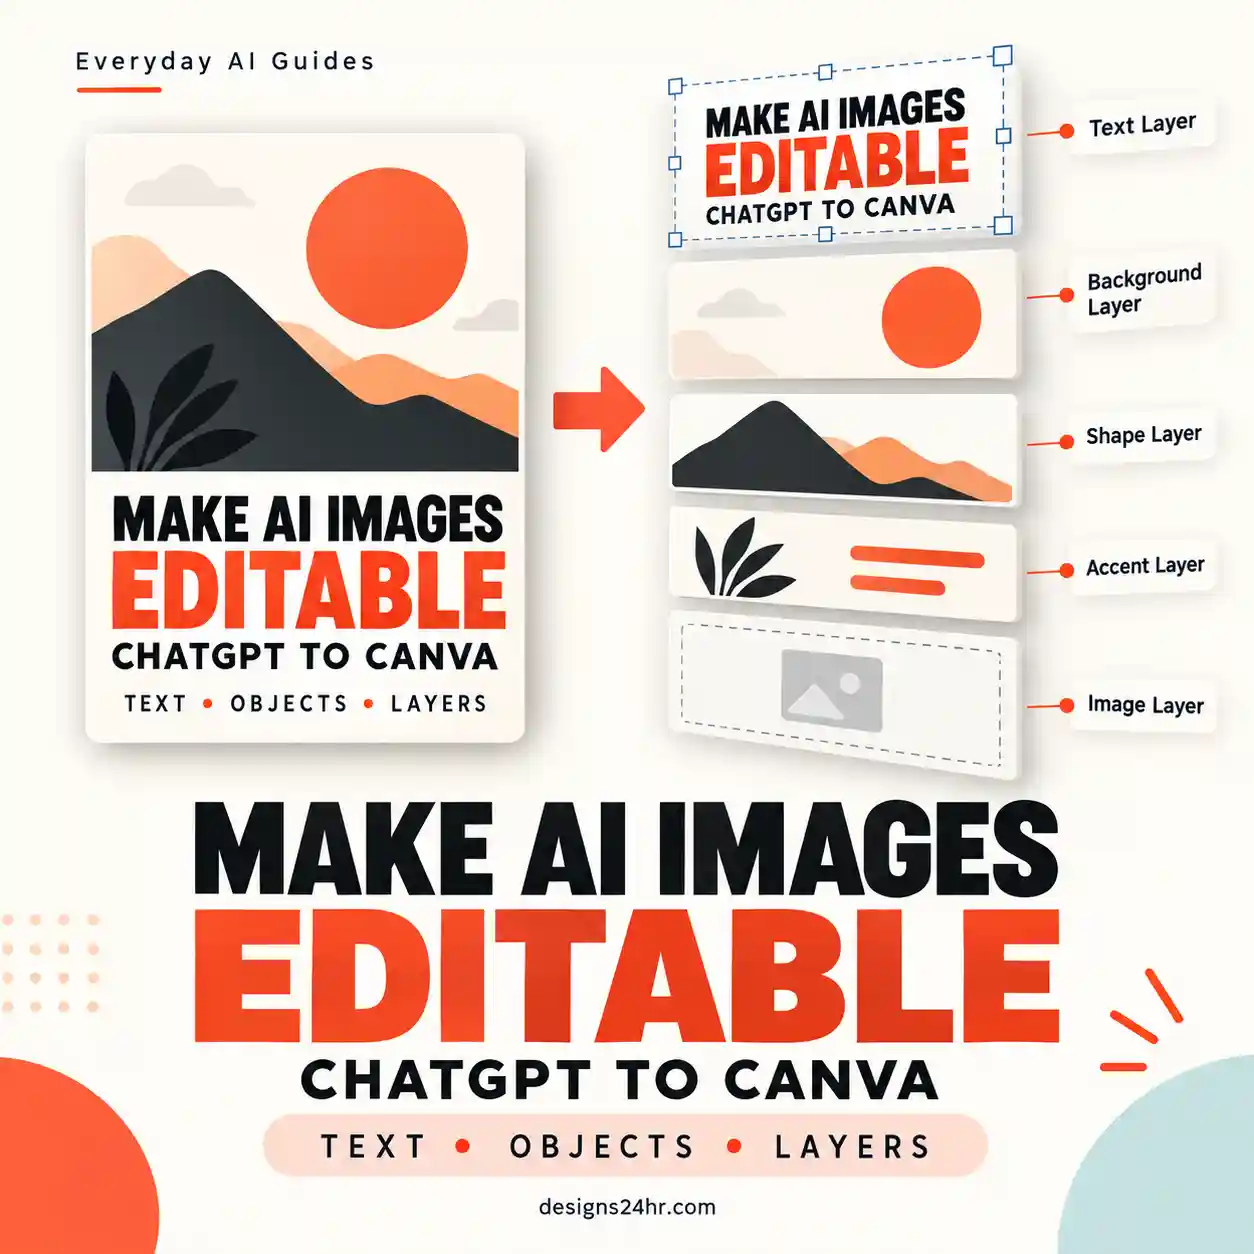
Open your chosen scene in an image editor or compatible mockup application and import the original artwork as a separate layer or editable object.
Do not ask the image generator to redraw the approved design if exact reproduction is necessary.
For a flat product surface:
- Import the existing artwork into the scene.
- Position it within the correct display area.
- Resize it proportionally without independently stretching its width or height.
- Use a mask to hide artwork extending beyond the intended product surface.
- Keep the original artwork layer available for later comparison.
For angled or perspective-based scenes:
Use a suitable perspective transform or a mockup template designed for the product surface.
A perspective transformation can make a flat design appear naturally angled in a photograph. It changes the way the artwork appears in the final image, but it should not overwrite or replace the untouched source file.
Where exact geometry is essential, retain a separate straight-on preview of the actual design alongside the perspective mockup.
Placing a design onto a flat surface is different from accurately simulating a manufactured object with depth, cutouts, joints, material thickness, or curved construction.
A flat artwork overlay is not sufficient evidence that a complex physical product will look or function exactly as shown.
Adjust Lighting, Perspective, and Shadows Without Redesigning the Artwork
After placing the design, improve its relationship with the surrounding scene.
Your objective is to make the preview visually coherent while preserving the original product information.
Adjust the surrounding presentation:
- Align the artwork with the product surface.
- Use realistic placement and appropriate visual scale.
- Add subtle contact shadows or surface effects only when they represent the actual product.
- Match the overall light direction and scene perspective.
- Remove visual distractions that compete with the design.
Avoid effects that obscure important artwork features or invent an unverified physical finish.
For example, do not automatically add a raised wooden texture to an SVG design if the listing sells only a digital cutting file.
You may show a possible finished use, but distinguish an illustrative scene from a verified physical result.
If your editor supports non-destructive adjustments, use editable masks, adjustment layers, and retained source artwork. This makes it easier to correct the presentation without modifying the approved file.
Compare the Final Mockup With the Original and Export the Preview
A realistic-looking mockup is not automatically an accurate one.
Before exporting, compare the final preview with your untouched original design and the actual product information.
Check the following:
- Are all original shapes and design elements present?
- Does the design maintain the correct proportions?
- Are all letters, symbols, and small details accurate?
- Are the correct product variation and quantity represented?
- Does the scene imply a material, dimension, or finished result that has not been verified?
- Can buyers clearly understand what they will receive?
If your image needs enlargement, review the result carefully. Upscaling can change the appearance of fine lines and small details, particularly when new pixels are generated.
Use the AI Image Upscaler Checklist to review image quality, resolution, and possible visual changes before publishing an enlarged preview.
Keep your editable mockup project and original artwork separately. Export a flattened image at the dimensions and format required by your publishing platform.
Check the final export at full size and as a mobile thumbnail before using it in a product listing.
Preserve the design. Build the scene. Verify the result.
Treat your approved artwork as the fixed reference. Use AI where it helps create the surrounding presentation, and use controlled editing wherever exact artwork preservation is required.
AI Mockup Prompts That Help Preserve Your Original Design
A useful AI mockup prompt should clearly separate the existing artwork from the elements that the AI is allowed to generate.
The following prompts are designed for different stages of the workflow. They are adaptable templates, not guarantees of exact image reproduction.
Generate a Product Scene Without the Artwork
Use this when you need a suitable background for a finished design.
Create a premium, photorealistic product mockup scene for a [PRODUCT TYPE].

Show a clean, empty [PRODUCT SURFACE] suitable for placing an existing design later.

Scene requirements:
- Style: [DESIRED INTERIOR OR VISUAL STYLE]
- Color palette: [DESIRED COLORS]
- Lighting: [LIGHTING DESCRIPTION]
- Camera angle: [FRONT-FACING OR SUITABLE ANGLE]
- Composition: [SQUARE, LANDSCAPE, OR PORTRAIT]

Keep the primary product surface clearly visible and unobstructed.

Do not add artwork, illustrations, text, logos, patterns, or decorative graphics to the product surface.

Do not invent product specifications, accessories, or physical features.

Leave sufficient clean space for the original design to be inserted separately using image-editing software.

Create one realistic scene without people, animals, or other living beings.
How to use it: Replace the bracketed fields with details relevant to your product. Generate the scene first, then insert your actual design separately.
Describe the Approved Design as a Fixed Reference
Use this when working with an image-editing system that accepts an original artwork reference.
The attached artwork is the approved final design.

Treat it as a fixed visual reference, not as inspiration for creating a similar design.

Preserve the original:
- Outer shape and proportions
- Internal geometry and line structure
- Number and placement of all elements
- Cutout boundaries and negative spaces
- Text, symbols, and decorative details
- Original composition and alignment

Do not invent, simplify, embellish, or replace any part of the artwork.

Create or modify only the surrounding mockup scene where possible.

Do not add imaginary product components, materials, dimensions, or finishes.

If the editing system cannot preserve the exact design, leave the artwork area unchanged rather than generating an approximate replacement.

The final image must be checked against the original file before publication.
Important: This prompt communicates the requirement, but it cannot guarantee pixel-identical or vector-identical reproduction. Use the actual artwork layer or a controlled compositing workflow when exact geometry matters.
Compare the Mockup With the Original Artwork
Use this as an additional review after creating the mockup.
Compare the attached original artwork with the finished product mockup.

The original artwork is the approved design reference.

Identify any visible differences involving:

1. Outer shape and proportions
2. Internal geometry and cutout boundaries
3. Number of design elements
4. Spacing and alignment
5. Text, numbers, and symbols
6. Border and line thickness
7. Color and finish
8. Added or missing details
9. Product quantity and visible accessories
10. Any physical features implied by the mockup that are not established by the source artwork

Separate confirmed visual differences from details that cannot be determined from the images.

Do not assume that a realistic-looking product has been manufactured or tested.

Do not invent dimensions, materials, or product specifications.

Return a concise list of differences that need manual review before publication.
Important: AI-assisted image comparison can miss small geometric differences. Manually inspect the source file and the finished preview, especially for precision-cut artwork, small text, and repeating patterns.
Instructions such as “preserve the exact artwork” do not create a technical guarantee that an image generator will preserve every original pixel, path, connection, or measurement.
When the source design is purchase-critical, use the original artwork file and verify the resulting image.
How to Create AI Mockups for SVG Files, PNG Artwork, and Printables
Digital products have a particular challenge: buyers purchase the files, while the product images often show what those files could look like when used or manufactured.
The correct mockup method depends on the type of artwork and what the image is intended to communicate.
1. AI Mockups for SVG Cut Files
SVG files can contain precise vector shapes, paths, and cut boundaries. Small changes to those details can matter when the file is intended for laser cutting, vinyl cutting, or other precision-based applications.
Consider a geometric laser-cut wall panel with a diamond-shaped border and an internal decorative pattern.
Ask AI to recreate the entire panel
The generated result may introduce an additional internal line, change a cutout, remove a connection, or alter the thickness of a structural element.
The panel might look attractive while no longer matching the SVG file being sold.
Preserve the SVG and build the presentation
Keep the approved SVG as the product reference. Create a separate scene and place an accurate representation of the design into it.
Show a straight-on original file preview as well as any permitted illustrative finished-product scene.
Preserving an SVG’s visible artwork does not establish that a product made from the file will be structurally sound.
A realistic rendering cannot verify material strength, bridge thickness, cutting behavior, kerf, assembly, or installation.
Validate those details separately before making manufacturing or compatibility claims.
2. AI Mockups for Transparent PNG Artwork
Transparent PNG files are useful when you want to place finished artwork onto a flat product surface or background.
Examples include original illustrations, decorative graphics, printable labels, and approved design elements.
- Open the original PNG without overwriting it.
- Prepare a suitable blank product scene.
- Import the PNG as a separate layer.
- Position it in the correct area while preserving its aspect ratio.
- Check transparent edges, fine details, colors, and final image resolution.
When the PNG is intended for a particular physical product, also check that the artwork placement matches the actual printable area and product variation.
3. AI Mockups for Printable Wall Art and Digital Documents
Printables can be presented in clean frames, on desks, or within other suitable display environments.
The important distinction is that a digital-download customer receives the printable file, not necessarily the frame, printed sheet, or surrounding objects shown in the mockup.
A practical printable mockup workflow:
- Prepare an accurate preview of the original printable.
- Create a suitable empty frame or display surface.
- Insert the printable preview while preserving its content and proportions.
- Make sure the frame dimensions and artwork orientation do not create an inaccurate impression of the available print sizes.
- State clearly that the purchase is a digital download when that is the actual offer.
“Digital download only. No physical item or frame is included. The styled scene illustrates a possible display of the printable.”
Adapt this wording to match your actual product and the marketplace’s current disclosure requirements.
AI-Generated Mockup vs. Exact Artwork Overlay: Which Method Should You Use?
There is no single mockup method that works equally well for every product.
The appropriate choice depends on whether the scene is illustrative, whether the product has already been manufactured, and how important exact geometry is to the buyer.
| Method | Suitable Use | Main Limitation |
|---|---|---|
| Generate the entire image | Exploring scene concepts and possible visual presentations. | AI may reconstruct the artwork or invent product details. |
| Exact artwork overlay | Placing an approved design onto a suitable flat or predictable surface. | Perspective, surface properties, and physical construction still require verification. |
| Verified 3D mockup | Showing a modeled product when its dimensions, geometry, and materials have been established. | A render is not proof of a successful manufactured product. |
| Real product photograph | Showing the actual finished product, material, and construction. | Requires an existing physical sample and suitable photography. |
A Simple Decision Framework
Question 1: Is the exact artwork the product?
If the buyer is purchasing an SVG, PNG, printable, or similar digital file, preserve the original design and show an accurate file preview.
Question 2: Are you demonstrating a possible use?
If you want to show how the design might look in a suitable setting, a clearly identified illustrative mockup may help communicate that use.
Question 3: Are physical details important?
If material thickness, texture, size, assembly, or manufacturing quality affects the purchase, use verified product information and actual product photography where necessary.
Question 4: Does the mockup imply something you cannot verify?
If the scene shows an untested material, unverified construction, additional components, or a different product variation, revise the image or use a more accurate preview.
For a finished digital design, start with an accurate source-file preview. Add a realistic scene only when it provides useful context without changing the buyer’s understanding of what is included.
The Artwork Fidelity Checklist: 15 Things to Check Before Publishing
Use this checklist to compare your finished mockup with the actual approved artwork and the product information presented to the buyer.
The objective is not to judge whether the scene looks impressive. It is to identify differences that could make the displayed design or product inaccurate.
Original Design Accuracy
- 01. Outer geometry: The overall design shape matches the approved original.
- 02. Internal elements: The correct number of shapes, openings, and decorative elements is shown.
- 03. Spacing: The distances and alignment between design elements remain visually consistent.
- 04. Proportions: The artwork has not been unintentionally stretched or compressed.
- 05. Fine details: Cutouts, borders, small connections, corners, and thin lines are present.
- 06. Text and symbols: All visible lettering, numbers, punctuation, and symbols match the original.
- 07. Color and variation: The correct design variation is shown, with no misleading change to an advertised color.
Mockup Presentation Accuracy
- 08. Product surface: The artwork is positioned on a suitable surface.
- 09. Perspective: The design’s placement is consistent with the scene and does not create a misleading product shape.
- 10. Lighting and shadows: Visual effects do not hide important details or invent physical features.
- 11. Materials: Wood, metal, paper, fabric, or other material appearances are not presented as verified unless they actually are.
- 12. Dimensions: The apparent size does not contradict the product’s verified dimensions or available print sizes.
Buyer Expectation Accuracy
- 13. Product quantity: The image does not imply that additional designs, variations, or physical items are included.
- 14. File contents: The displayed artwork matches the actual downloadable files being sold.
- 15. Final listing: The title, images, description, and delivery information consistently explain what the customer will receive.
A Beautiful Mockup Is Not Proof of an Accurate Product
If the finished image differs from the approved design in a purchase-critical way, repair it using the original artwork or replace it with a more accurate preview.
Do not publish an altered representation merely because the scene looks realistic.
After completing this artwork-specific review, use the existing AI Product Mockup Generator Checklist to examine the broader accuracy of the finished product representation, including materials, quantity, dimensions, accessories, and buyer-facing claims.
Using AI Mockups for Etsy and Other Digital Product Listings
Accurate mockups can help communicate how a design might be used, but product presentation must remain consistent with the marketplace’s rules and the actual offer.
For digital products, the distinction between the original downloadable file and an illustrative finished-product scene is especially important.
1. Show What the Customer Is Buying
If your listing sells digital SVG or PNG files, state that clearly.
A realistic photograph-style mockup of a finished wooden sign should not make the customer believe they are purchasing a manufactured sign when the actual item is a digital design.
DIGITAL DOWNLOAD
Includes: 1 original geometric design in SVG and PNG formats.
No physical item will be shipped.
Example Finished Appearance
The styled scene demonstrates a possible use of the design.
The finished product, frame, materials, and display accessories are not included.
The exact disclosure should match the actual product and should remain easy to understand on mobile devices.
2. Understand Etsy’s Listing Image Requirements
Etsy’s Listing Image Requirements generally require sellers to use their own images of the actual product buyers will receive, with limited exceptions for certain custom and production-partner products.
The requirements for a particular image depend on the product type and selling arrangement. Do not assume that every AI-generated mockup is permitted as the primary image of every Etsy listing.
When the item is a digital download, consult Etsy’s digital listing guidance and accurately identify the files being sold.
Where the item itself was created using AI, check Etsy’s current Creativity Standards and applicable AI disclosure requirements.
A clear disclosure does not automatically make an otherwise prohibited listing image acceptable.
Check the platform’s current requirements before selecting an illustrative or AI-generated mockup as a primary listing image.
3. Use Artwork You Have the Right to Display
Mockup creation does not remove the need to respect copyright, trademarks, and third-party licenses.
Use original artwork or material you are authorized to use in your intended commercial context.
- Do not copy another seller’s artwork or product photograph.
- Do not assume that a publicly accessible image is free for commercial reuse.
- Check commercial-use permissions for mockup templates, backgrounds, and other licensed assets.
- Avoid unauthorized brand logos, protected characters, and misleading product affiliations.
- Keep the final product description consistent with the actual design, manufacturing method, and included files.
The safest visual starting point is your own artwork and a properly authorized scene.
Common AI Mockup Problems and How to Fix Them
Even when you use the correct source file, errors can appear during scene generation, artwork placement, perspective adjustment, or final export.
Use the following solutions to correct the underlying problem rather than repeatedly regenerating an inaccurate product.
Problem 1: AI Changes the Original Design
What happens: The generated mockup includes extra lines, modified shapes, missing details, or an altered pattern.
What to do: Return to the approved original file. Generate the scene separately and insert the existing artwork as an editable element.
Problem 2: The Artwork Looks Stretched
What happens: The design appears unusually wide, tall, compressed, or distorted.
What to do: Reinsert the original artwork and preserve its aspect ratio during normal resizing. Use a suitable perspective transform only when the scene requires one.
If the intended surface cannot accommodate the design accurately, choose a different scene or display format.
Problem 3: Text or Symbols Look Incorrect
What happens: Letters are missing, symbols are malformed, or the design contains words that do not appear in the source file.
What to do: Use the original approved text or artwork layer. Inspect the final export at full size. Do not rely on generated text for purchase-critical wording.
Problem 4: The Design Looks Flat or Floating
What happens: The artwork does not appear properly attached to the product surface.
What to do: Review placement, perspective, masks, edge treatment, and the scene’s light direction.
Add only those surface effects supported by the product you intend to represent. Avoid inventing a raised or engraved finish simply to increase realism.
Problem 5: A Digital File Looks Like a Physical Product
What happens: A product preview shows a finished physical object, but the listing sells only a downloadable file.
What to do: Clearly identify the digital product, show the actual design being supplied, and distinguish the illustrative scene from the included files.
Check the relevant marketplace image requirements before publishing.
Problem 6: The Final Image Looks Blurry
What happens: Fine lines and smaller details become unclear after resizing or exporting.
What to do: Return to the highest-quality approved source and prepare an appropriately sized display image.
Use the AI image upscaling quality guide before relying on AI-based enlargement for detailed artwork.
Problem 7: The Scene Creates an Inaccurate Product Claim
What happens: The mockup shows an unverified material, attachment, frame, package quantity, or construction detail.
What to do: Remove the unsupported feature, use an accurate alternative, or replace the generated image with a verified product reference.
Do not treat a realistic-looking scene as evidence that a product has been manufactured, tested, or validated.
AI Mockups Without Changing Artwork: Frequently Asked Questions
Can AI create a mockup without changing my original design?
Yes, you can create a mockup that preserves the original source artwork by keeping the design separate from the generated background and placing it through controlled editing.
However, asking an image generator to reproduce your design does not guarantee exact geometry, lettering, or proportions.
How do I stop AI from changing the shapes or text in my mockup?
Keep an untouched copy of the original file and place that artwork into the scene as a separate layer. Avoid regenerating important lettering, cut paths, and decorative geometry.
Compare the exported image against the approved artwork before publishing.
Can I create realistic AI mockups for SVG cut files?
Yes, SVG artwork can be used to prepare accurate design previews and illustrative product scenes.
Keep the SVG as the approved file reference. A realistic mockup does not, by itself, verify material strength, cutting performance, physical dimensions, or manufacturing compatibility.
What is the difference between an AI-generated mockup and an exact artwork overlay?
An AI-generated mockup may recreate the product and its artwork as part of a newly generated image.
An exact artwork overlay uses the existing design file and places it into a separate scene through controlled editing.
The second approach gives the creator greater control over the approved design, although the final presentation must still be reviewed for accuracy.
Can I use AI-generated mockups in my Etsy listings?
Etsy’s image requirements depend on the product category and selling arrangement. Its general rules require original images of the actual product, with limited exceptions for certain custom and production-partner products.
Check Etsy’s current listing-image and digital-product requirements before using a generated mockup, especially as the primary listing image.
Can a prompt guarantee that AI will preserve my artwork exactly?
No. A detailed prompt can communicate your requirements, but it cannot guarantee that a generative image system will reproduce every original pixel, vector path, letter, or design element.
When exact reproduction matters, preserve the source file and use a controlled compositing workflow.
What should I do if the finished mockup does not match my original artwork?
Identify the differences and return to the original approved artwork. Correct the placement or rebuild the presentation without altering the product design.
If the final mockup cannot accurately represent the product, use an original design preview or verified product photograph instead.
Preserve the File. Build the Scene. Verify the Result.
Creating AI mockups without changing artwork is not about finding a prompt that makes every generated product perfectly accurate.
It is about using the correct workflow: protect the original design, prepare an appropriate scene, insert the existing artwork, and inspect the final presentation before publishing.
For digital-product sellers, accuracy also means making the actual file contents and product offer clear to buyers.
Start with your approved artwork. Let the mockup support the design—not redefine it.
Check Your Mockup Before Publishing